C# CONCEPTS
How to add GraphQL wrapper over existing REST API along with Swagger.

Learning Objectives
- How to add GraphQL wrapper
- How to use the NSwag tool to generate code
Prerequisites
- Require “HotChocolate.AspNetCore” from NuGet package.
- Require .Net 5 Framework.
- Visual Studio IDE.
- Understanding of .Net Web API project.
- Basic knowledge of Swagger UI.
Getting Started
GraphQL allows you to ask for what you want in a single query, save bandwidth, and reduce requests.
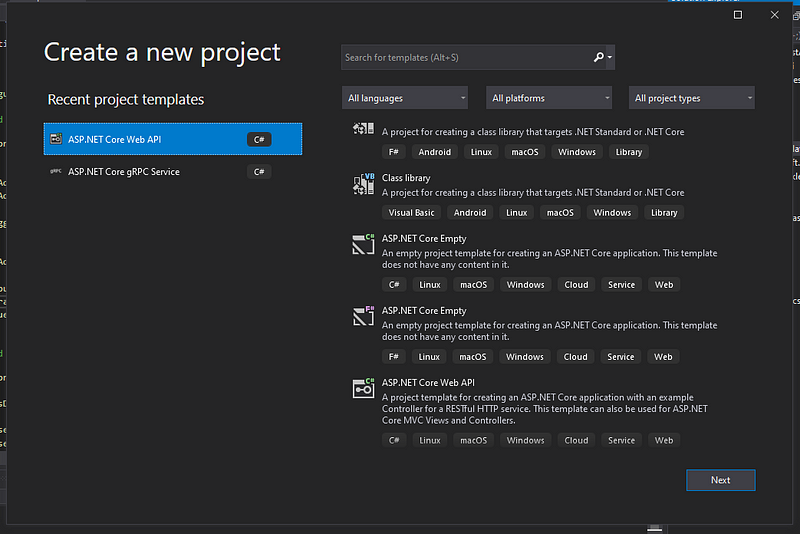
Step 1: Create a new project
Create a new project in ASP.Net Core Web API template for this article demonstration, as shown below.
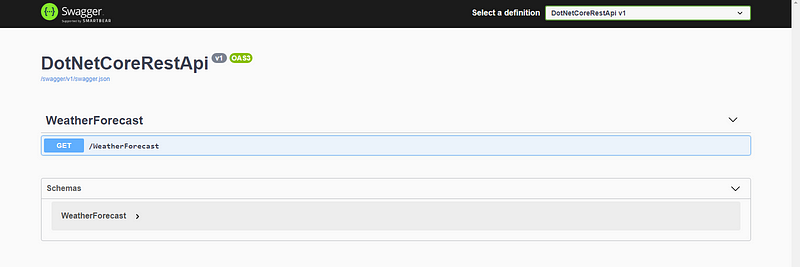
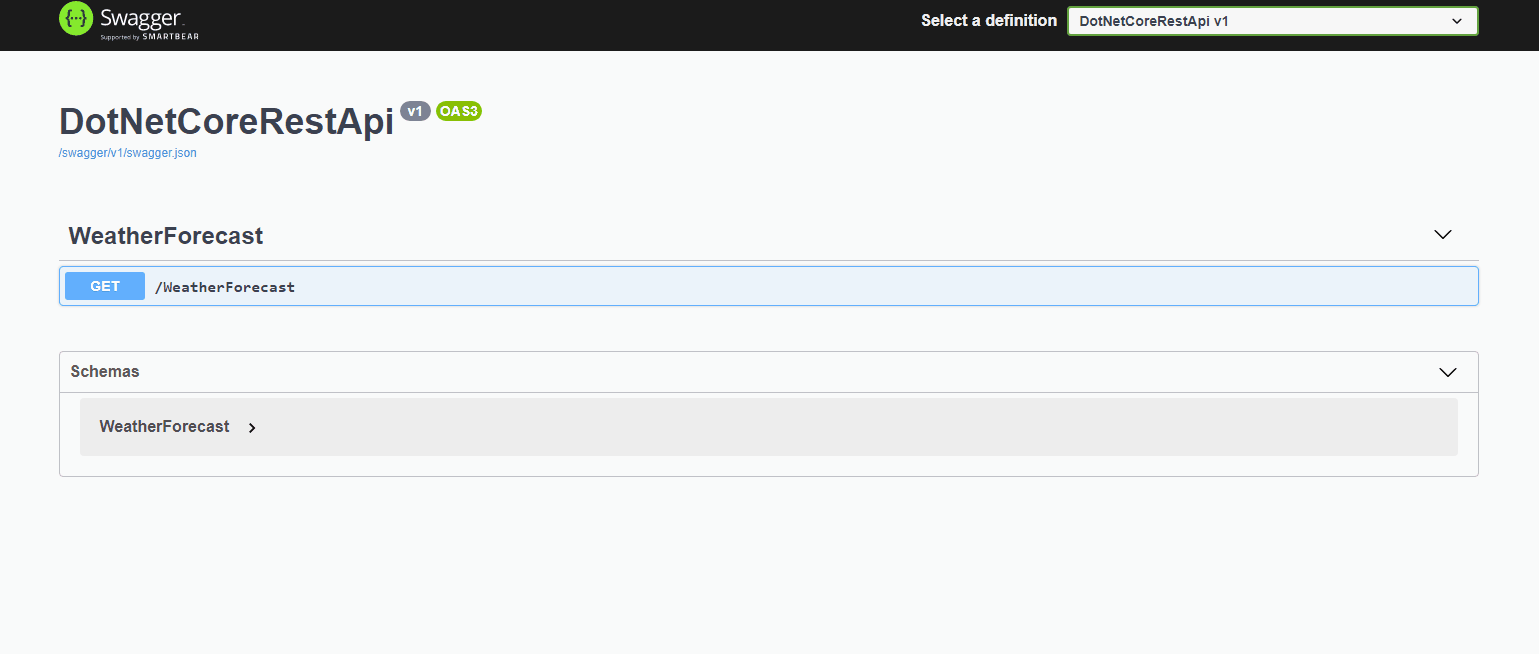
The problem of generating helpful documentation and help pages for Web APIs. Now .Net project is by default enabled with swagger, as shown on the localhost URL
Step 2: Add GraphQL packages
Install the “HotChocolate.AspNetCore” package from NuGet gallery into the newly created solution in Visual Studio.
Step 3: Generate Manifest file
Go to file explorer > project folder and run the following command using the Dotnet Global tool.
dotnet new tool-manifest
and Install the NSwag tool
dotnet tool install NSwag.ConsoleCore
Step 4: Create swagger.json
Create swagger JSON file in project directory using below command
curl <SwaggerJsonFilePath> > swagger.json
Click as highlighted below know the swagger JSON file path
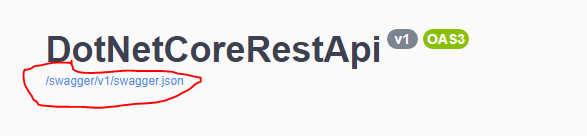
Example
curl https://localhost:44323/swagger/v1/swagger.json > swagger.json
Step 5: Generate service files
Generate REST service file using below command with respective namespace and class name.
dotnet nswag swagger2csclient
/input:swagger.json
/classname:<Clasname>
/namespace:<Namespace>
/output:<OutputFile>
Example
dotnet nswag swagger2csclient
/input:swagger.json
/classname:RestClass
/namespace:RestNamespace
/output:ToDoService.cs
Step 6: Update base URL
Update the base URL in generated “ToDoService” file.

Step 7: Configure GraphQL Playground
Attach playground inside the ConfigureServices method in the “Startup.cs” file
public void ConfigureServices(IServiceCollection services){
services.AddHttpClient<RestClass>();
  services
   .AddRouting()
   .AddGraphQLServer()
   .AddQueryType<Query>();
}
Create GraphQL Query class as follows
https://gist.github.com/ssukhpinder/185da3908a7abeab1b9e167c8d245a07
Map GraphQL in Configure method
app.UseEndpoints(endpoints =>
{
  endpoints.MapControllers();
  endpoints.MapGraphQL();
});
Step 8: Run the playground
Browse the localhost URL at route “/graphql,” and the following GraphQL playground will be displayed.
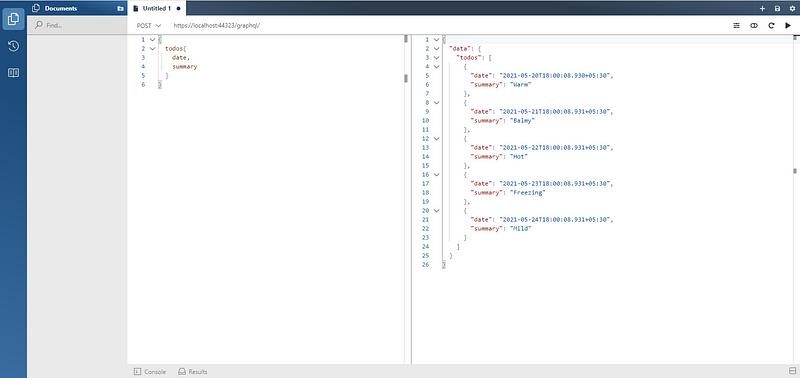
That’s it, successfully integrated GraphQL playground to the .Net REST API along with swagger.
Github Sample
https://github.com/ssukhpinder/DotNetCoreRestApi
Live Demo
Thank you for reading, and I hope you liked the article. Please provide your feedback in the comment section.
